Dashboard Replacement
During this summer the veneer on the dashboard started to crack a bit more, so I decided to replace it with a Leven alloy item. After reading up on www.chimaerapages.com and using Steve Heaths bible I set off removing the old dash and putting the new shiny one in...Here's a bolt by bolt guide on how I completed it-
Dash top removal:
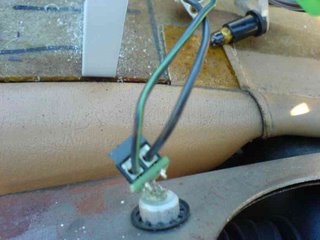
Inhibitor LED Wiring:
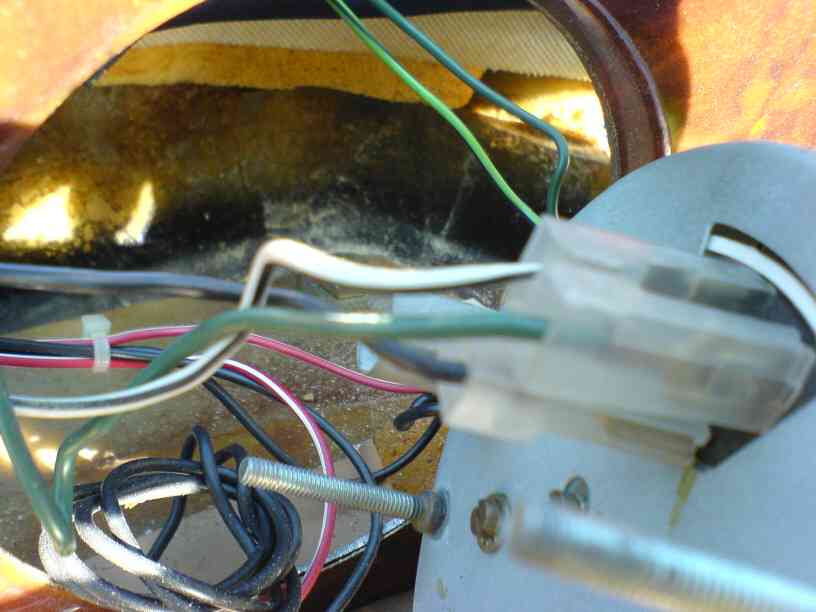
Tachometer Wiring:

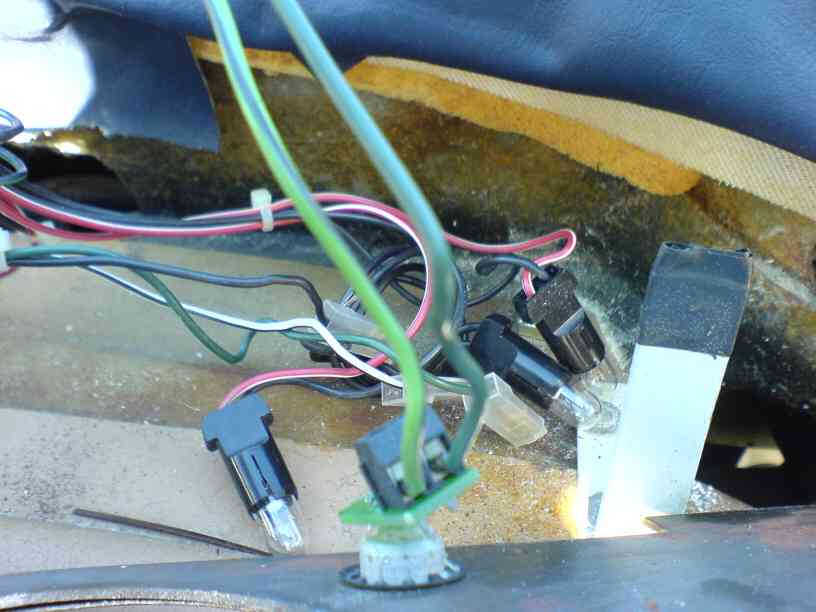
MIL LED Wiring:
 Knowing TVRs the wire colours may change, so I accept no responsibility if you wire your dash up incorrectly, should have taken your own photos!
As you can see the PCB won't fit through the hole! Time to *gently* break the LED out of its holder:

Here's the results...


...goes well with all the other shiny Leven accessories IMHO :)
Dash top removal:
- Unscrew the passenger "glove box" under the dash
- Find and remove the three elusive bolts that hold the dash top on
- Now try and move the dash top into a position where you can get the right hand side bolt to come free, this was completed with a lot of swearing and sweating
- Work your way along the dials and switches removing them from the old dash one-by-one and reconnecting them separated from the dash
- Unscrew the screws that hold the heater controls to the dash bottom, keep hold of the bolts that are used as spacers between the controls and the dash bottom
- Now you should be able to lift the old dashboard from the dash bottom
- There are three small nuts and bolts that hold the heater controls to the dash board, remove these and carefully separate the two
- Carefully tip the dash forward to remove the wires from the MIL and Inhibitor LEDs (see pics) along with the nylon nut that holds the PCB of the main indicator/main beam/hand brake/frost LEDs
- Now you can remove the dash!
- Remove the radio
- Remove the radio cage
- Remove the four self tapers that hold the panel on
- As with the dashboard remove all the switches and alarm LED one by one, reconnecting them away from the panel
- On the old dashboard make a note of the position of the bolt that is glued in between the tacho and speedo, mark on the new dash the exact position and remove from the old dash
- Remove the glued in LEDs, be very careful, seen as it was 9 year old glue holding them in it had gone quite brittle, so with a little persuading they came free from their holders
- Remove the LED holders from the old dash, I used a screwdriver to carefully lever off the locking thingies around the holders
- Now transfer the LED holders to the new dash, I reused the locking thingies, placing the dash on a suitable bit of cloth and using a suitable sized socket from my socket set and a suitable sized wooden mallet the locking things where persuaded back onto the LED holders! Make sure the holders are correctly aligned before striking the final fixing blow!
- Once all the holders are in place, time to glue! Put a few dabs around the LEDs and put back in their holders. Glue the bolt back on in the place you marked earlier
- Now leave and don't touch until the glue has fully cured
- Mark on the rear of the new radio panel exactly where the two pieces of angled steel are glued on the old radio panel
- Remove the two steel angles and nut that are glued to the old panel
- Glue the three items to the new panel and leave to until fully cured
- Quite easy really, do the steps completed in the removal in reverse!
- Watch out for the LEDs around the heater controls, they're a bit of a snug fit, also the hole for the top small nut and bolt that hold the heater controls to the dash was a bit out of alignment on my dash (so I didn't refit it, the blower switch does a good job of holding it all together and the bolt hole is hidden by the top dash panel)
- I found it a good time to straighten all the metal work that hold the clocks in on the dashboard, sort out all the i.c.e wiring.
Inhibitor LED Wiring:

Tachometer Wiring:
MIL LED Wiring:
 Knowing TVRs the wire colours may change, so I accept no responsibility if you wire your dash up incorrectly, should have taken your own photos!
As you can see the PCB won't fit through the hole! Time to *gently* break the LED out of its holder:

Here's the results...
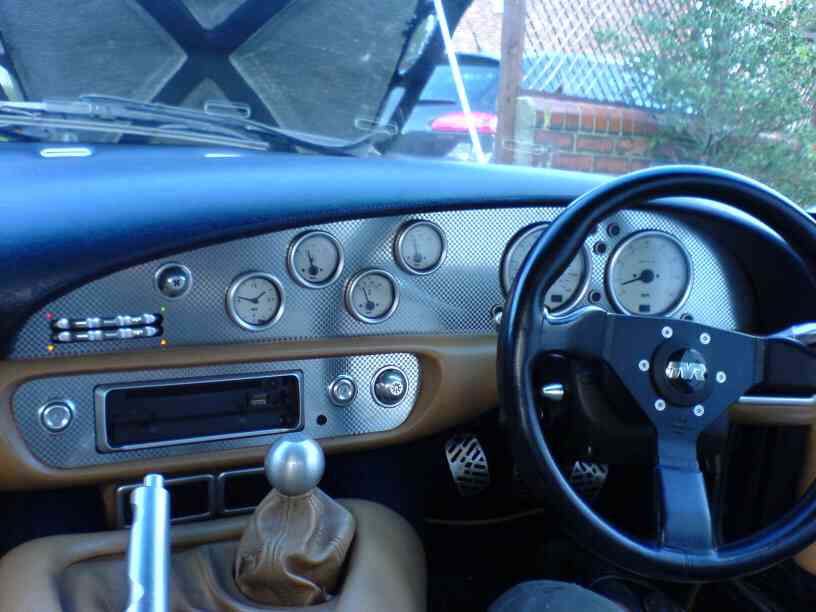

...goes well with all the other shiny Leven accessories IMHO :)


Comments